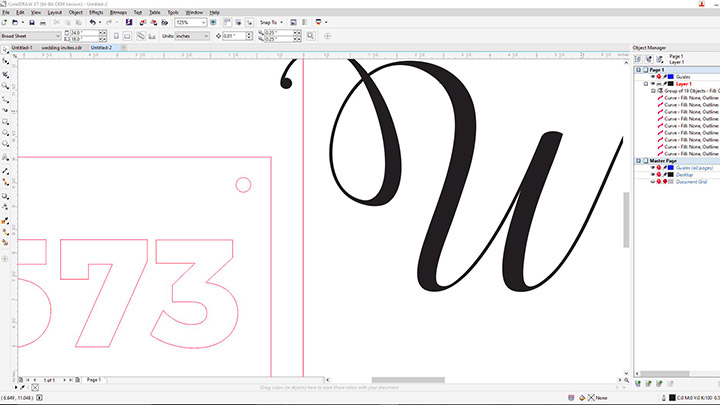
Prepare the Artwork
The artwork we provided is ideal for display purposes, as you’ll likely receive or create personalized graphics for customers. Open the files and customize as you see fit.
Color-fil
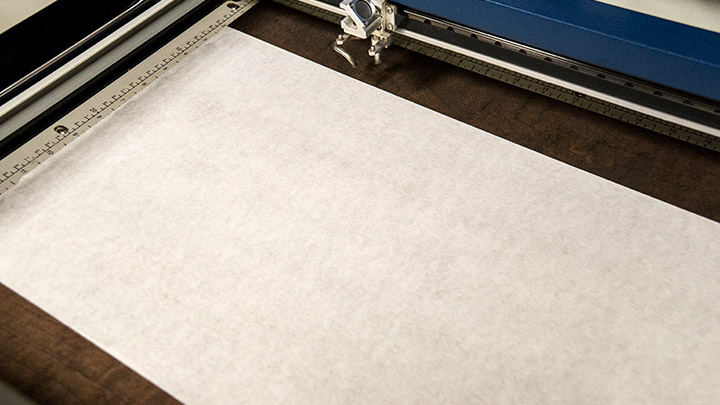
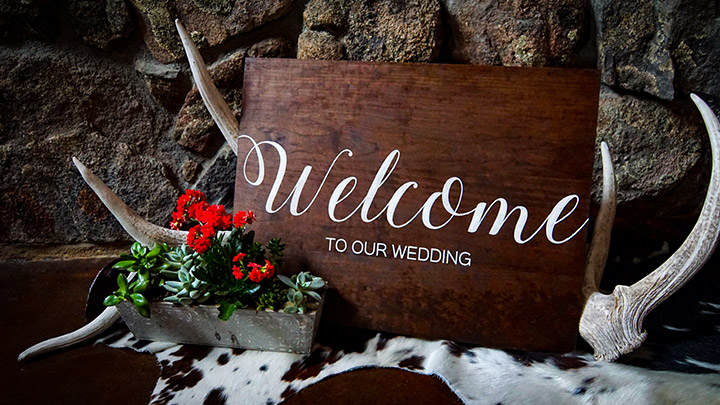
For the wedding sign, we’ll be using a color-fil technique. Mask the wood first, insert into the laser, and then send the job.
When the engraving is finished, paint the engraved area and allow it to dry. Remove the tape after the paint has dried and you’re all set (click through the sideshow at the top of the page to see the finished wedding sign.)
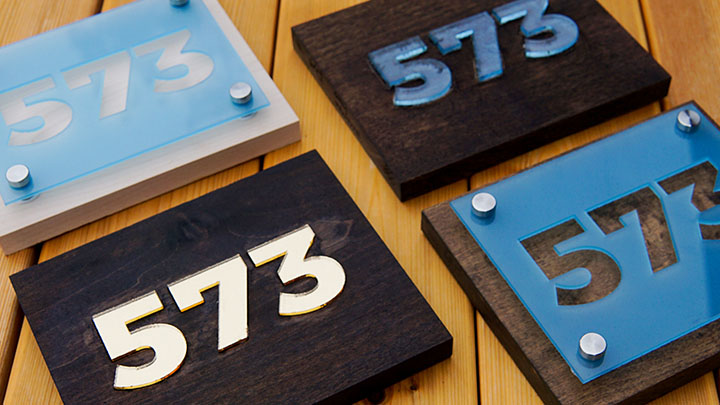
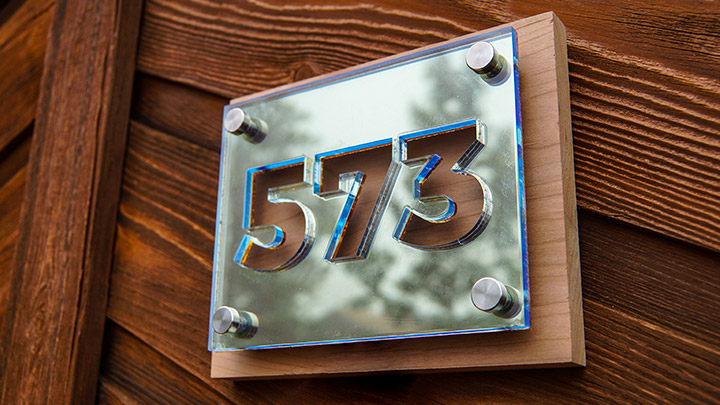
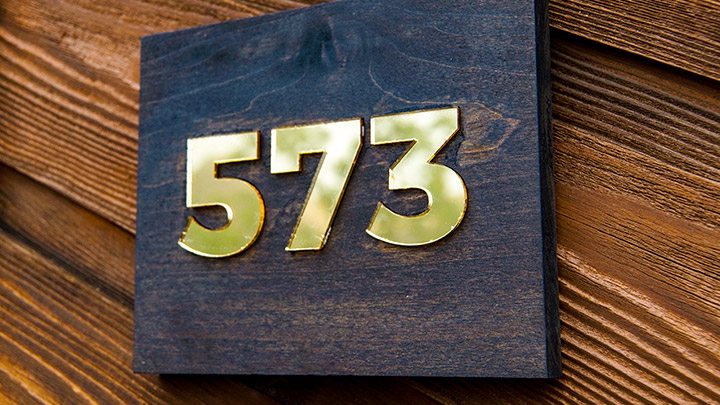
For the room number signs, we started by first laser engraving the numbers on the wooden block (for placement purposes.) We then laser cut the acrylic and adhered it to the wood. For the second style of room number signs, we used the scrap acrylic from the numbers we just cut and used stand offs to attach it to the wood (see sideshow at the top of the page to view completed dimensional signs.)
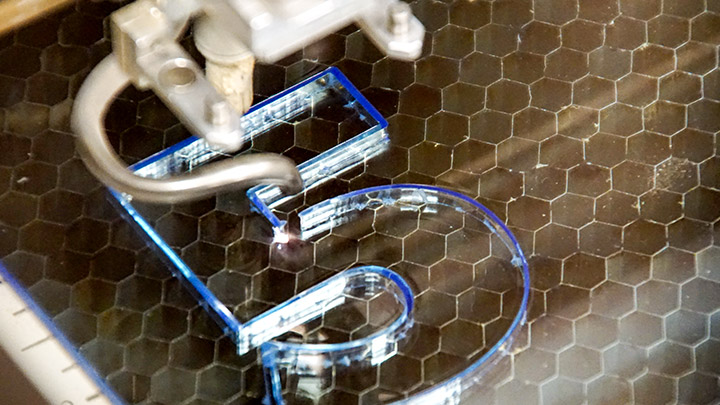
A few acrylic cutting tips:
- Cutting acrylic is usually best achieved with relatively slow speed and high power. This combination allows the laser beam to melt the edges of the acrylic and produce an almost flame-polished edge.
- Acrylics generally require only a single pass to cut, but thicker acrylics may need two passes. Some users find that spritzing the protective adhesive paper with water produces a better edge when laser cut.
- Remove the protective adhesive paper from the back of the acrylic before engraving. Leave the front protective cover layer on to prevent scratching while handling the acrylic.
Enjoy!
Where can you sell laser cut signage?
- Schools & libraries
- Hotels
- Corporate events & special occasions


